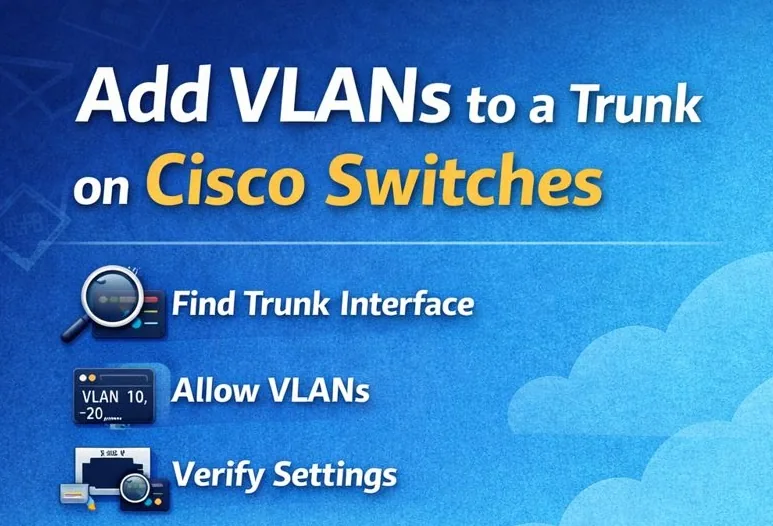
Cisco: How to Add a VLAN to a Trunk (IOS/IOS XE) — Fast Fix + Verification
Cisco: How to Add a VLAN to a Trunk (IOS/IOS XE)
If you Googled “cisco how to add vlan to trunk”, there’s a good chance you’re in the middle of one of these situations:
- You created VLAN 10 on both switches, set access ports… but devices still can’t talk across switches.
- A trunk “works,” but only for some VLANs — the one you need is missing from Allowed VLANs.
- Someone “cleaned up” the trunk and accidentally removed a VLAN (and now you’re fixing an outage).
- You’re seeing messages about native VLAN mismatch and you’re not sure if that’s related.
The core idea is simple: a trunk can carry multiple VLANs, but it will only forward the VLANs that are allowed on that trunk. This guide shows the safe, real-world way to add VLANs to a trunk without breaking what already works.
Quick Answer (Safe Copy/Paste)
Add VLAN 10 to trunk interface Gi1/0/48 without overwriting the current list:
conf t
int gi1/0/48
 switchport mode trunk
 switchport trunk allowed vlan add 10
end
wr
Verify:
show interfaces trunk
show interfaces gi1/0/48 switchport
If you need to add multiple VLANs:
conf t
int gi1/0/48
 switchport trunk allowed vlan add 10,20,30
end
wr
Why VLANs “Disappear” on Trunks (The Real Reason People Get Stuck)
Most outages happen because someone uses:
switchport trunk allowed vlan 10
…and doesn’t realize this replaces the entire allowed list on many IOS/IOS XE setups (depending on how it’s already configured). That means VLAN 20/30/99 might silently stop passing. If you’re fixing something live, the word you want is add:
switchport trunk allowed vlan add 10
That’s the difference between “quick fix” and “why did half the building lose network.”
Step 1) Confirm You’re Editing the Right Interface
Find which port is actually trunking (especially helpful on stacks and uplinks):
show interfaces trunk
Look for the interface you care about (example: Gi1/0/48) and confirm it’s in trunk mode and up.
Step 2) Add a VLAN to the Trunk (The Safe Way)
Add a single VLAN
conf t
int gi1/0/48
 switchport trunk allowed vlan add 10
end
wr
Add multiple VLANs
conf t
int gi1/0/48
 switchport trunk allowed vlan add 10,20,30
end
wr
Add a VLAN range
conf t
int gi1/0/48
 switchport trunk allowed vlan add 100-110
end
wr
Step 3) Make Sure the VLAN Exists (Common Oversight)
If VLAN 10 is allowed on the trunk but the VLAN isn’t created locally, you’ll still get confusing behavior.
Check VLANs:
show vlan brief
Create it if needed:
conf t
vlan 10
 name USERS
end
wr
Important: Do this on both switches if the VLAN should pass end-to-end.
Step 4) Verify It’s Actually Passing (Not Just “Allowed”)
Verify trunk + allowed VLANs
show interfaces trunk
You want to see your VLAN under:
- Allowed VLANs
- and ideally also in the forwarding list (depending on STP state and topology)
Verify the interface mode and trunk details
show interfaces gi1/0/48 switchport
This helps catch situations where the port is not really trunking (or negotiated into something unexpected).
Common Problems and Fast Fixes
Problem: VLAN is allowed but traffic still doesn’t pass
Checklist:
- VLAN exists on both sides (
show vlan brief) - Trunk is up and trunking (
show interfaces trunk) - VLAN is not being filtered elsewhere (port-channel config, vtp domain mismatch, or policy)
Problem: Native VLAN mismatch warnings
If your environment uses a native VLAN, set the same native VLAN on both ends:
conf t
int gi1/0/48
 switchport trunk native vlan 99
end
wr
If you do not intentionally use a native VLAN standard, don’t “randomly set one” to silence warnings—understand what your network expects first.
Problem: You accidentally overwrote the allowed list
If you used switchport trunk allowed vlan 10 and it broke other VLANs, you need to restore the previous list. If you don’t know it, check the running config (or your change history), then set the full list explicitly:
show running-config interface gi1/0/48
Then apply the correct full allowed list:
conf t
int gi1/0/48
 switchport trunk allowed vlan 10,20,30,99
end
wr
Problem: Port-channel (EtherChannel) trunks
If the link is in a Port-Channel, you usually need to set allowed VLANs on the Port-Channel interface (and keep members consistent). Start by checking trunk output and interface names:
show interfaces trunk
show etherchannel summary
Minimal Troubleshooting Cheatsheet
Run these and you’ll usually spot the issue in under a minute:
show interfaces trunk
show interfaces gi1/0/48 switchport
show vlan brief
show running-config interface gi1/0/48
FAQ
Do I need to add the VLAN to the trunk on both switches?
Yes. If there’s a trunk between SW1 and SW2, both ends must allow that VLAN (and the VLAN should exist where needed).
Should I allow all VLANs on a trunk?
In small labs it’s fine, but in real networks an explicit allow list is easier to audit and prevents surprises.
What’s the safest command if I’m not sure what’s already allowed?
Use:
switchport trunk allowed vlan add <VLAN>
It appends without wiping the existing list.
Real-world tip (why this keeps happening)
A trunk outage is rarely about “VLAN knowledge.” It’s usually about working under pressure: multiple tabs, multiple switches, and trying not to break what’s already live.
That’s why the best habit here is: change one thing, then verify immediately with show interfaces trunk. If you do it that way every time, you avoid the most expensive VLAN mistake: “I thought I added it, but I actually replaced the list.”
If you want, I can also generate a matching 2:3 hero image for this article in the same CliDeck blog style as the previous one.