
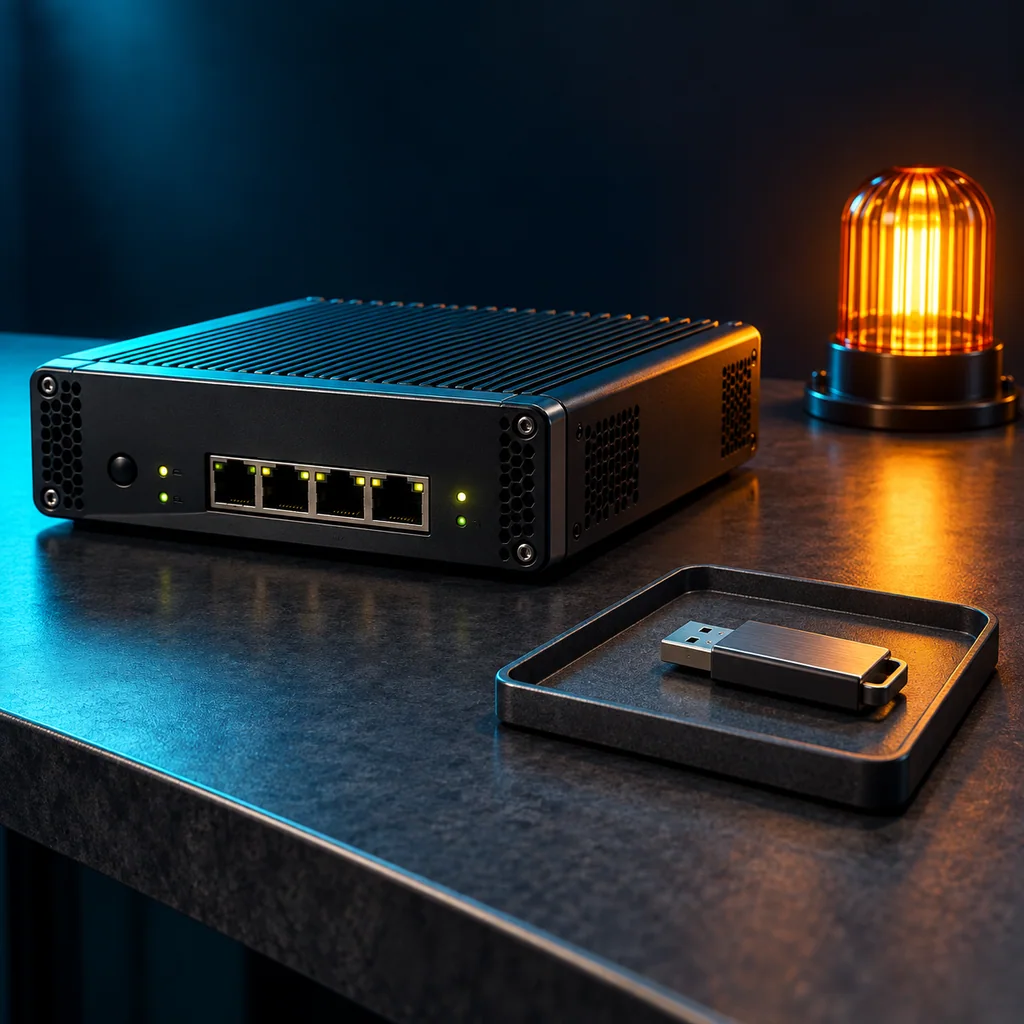
FortiGate USB Auto-Install Before Resale: Prevent Old Configuration from Returning
Short answer
Remove unreviewed USB media before resetting an owned FortiGate and inspect USB auto-install settings on supported models. Auto-install can load configuration or firmware from a USB disk when enabled. A clean reset performed with an old provisioning drive attached can therefore have an unexpected next boot. Verify the final configuration with the intended removable-media state.
When this check matters
Use this inspection during ITAD intake, refurbishment, or recovery of a physical appliance with USB provisioning support. Record the model and FortiOS version because available commands and supported hardware differ. Do not apply the same assumption to cloud VM variants.
Start with authorization to modify the firewall and handle attached storage. A USB stick can belong to the customer and hold configuration, firmware, or unrelated private files. Treat it as a separate asset or evidence item instead of silently reusing it on the bench.
Inspect without importing
Disconnect the customer network and identify all removable media. If preservation is required, route the media through the authorized evidence process. Do not attach an unknown stick to another production device to inspect its purpose.
On an authorized FortiOS session where the command is available, inspect the current settings:
show full-configuration system auto-install
Record whether configuration and image auto-install are enabled and which filenames are selected. For FortiOS 7.6.3 on supported models, the configuration names include auto-install-config, auto-install-image, default-config-file, and default-image-file. Common default filenames are fgt_system.conf and image.out; inspect the actual values rather than relying on those names alone.
Disable unintended auto-install under the approved runbook
When your processing scope allows this change and no intentional USB provisioning is required:
config system auto-install
    set auto-install-config disable
    set auto-install-image disable
end
These commands address this USB mechanism only. They do not remove all possible provisioning paths, management relationships, or customer data. If the syntax is unavailable, stop and match the command reference to the appliance rather than substituting commands from another release.
Remove the unreviewed media before reset or reboot. If intentional recovery requires a USB image, use clean approved media and record exactly what is on it, which function is enabled, and what state is expected afterward.
Verification note: inspect again after the final reset
A reset can change settings to the model's defaults. Recheck the actual auto-install configuration and media state after processing instead of assuming the pre-reset inspection still describes the final appliance.
Record the FortiOS version before and after. If firmware unexpectedly changes, inspect the selected image-install path and media before calling the symptom a hardware failure. If old customer settings return, separate local restore mechanisms from external management or HA behavior.
Complete the clean-state check
- Normal startup completes with the approved version.
- Customer settings do not return on the authorized final boot check.
- No unreviewed USB stick remains attached.
- Any approved recovery media has a clear disposition.
- Auto-install settings match the intended handoff baseline.
Use the FortiGate reset decision guide for the configuration-reset choice. CliDeck Workspace can capture the inspection and final boot, while the private asset record should retain the removable-media and sanitization decisions.
Safety note: This guidance applies only to devices your team owns or is authorized to process. Use the approved, device-specific procedure, customer policy, and your organization’s sanitization and evidence procedures.
Who this is for
This guide is for ITAD teams, refurbishment teams, network engineers, and operations teams who need to perform an owner-authorized reset, recovery, verification, or documented device-processing workflow on network devices that your team owns or is authorized to process.
When to use this
Use this guide when:
- Your team owns or is authorized to process the device.
- You need to reset, zeroize, recover, reimage, verify, or document a network device.
- The result must be attached to an asset, resale, reuse, refurbishment, or recycling workflow.
When not to use this
Do not use this guide when:
- You do not own or have authorization to work on the device.
- The device is outside your approved change, recovery, or processing scope.
- The task may expose customer data, secrets, licenses, or credentials that you are not allowed to view or store.
- You need a certified data destruction procedure and your organization has not provided one.
Quick checklist
- Identify the device and console connector
- Use the correct console cable or adapter
- Find the correct serial port or COM port
- Start with the expected baud rate and 8N1 settings
- Press Enter to confirm the prompt
- If output is unreadable, check baud rate and line settings
- If the port will not open, check permissions, drivers, and whether another program is holding the port
- Save useful session notes or logs when the work matters
Traditional cable vs CliDeck workflow
A traditional USB serial cable is still the simplest option for quick local work. CliDeck becomes useful when the console session needs browser access, notes, runbooks, sharing, logs, remote hands support, or a portable controller workflow.
Console Server Go can work like a wired USB serial adapter when connected by USB, but it also adds SSH Console on SSH-enabled firmware builds, browser Workspace, live sharing, 24h+ battery operation, OLED status, and magnetic rack mounting.
Net Controller is the larger 12-port option for teams that need to process many network devices with approved workflows, barcode/API tracking, provisioning files, and evidence-style logs.
Workflow
- Confirm ownership, processing scope, device identity, and approved procedure.
- Connect through the console or approved management path and capture the session context.
- Run the reset, zeroize, recovery, reimage, or verification steps required by the article and vendor documentation.
- Reboot or reconnect as needed and verify the expected clean, default, or recovered state.
- Attach logs, verification output, exceptions, and final pass/fail/exception status to the asset record.
Verification checklist
- Device identity matches the asset record.
- Console or session log is attached to the asset.
- The reset, zeroize, recovery, or reimage method is recorded.
- The post-reboot state matches the expected clean or recovered state.
- Verification commands and outputs are captured.
- Exceptions or failures are quarantined instead of marked ready.
Resale and evidence checklist
Before marking the device ready for resale, capture:
- Device model and serial number
- Console transcript or session log
- Reset, zeroize, reimage, or recovery method used
- Any confirmation prompts and operator decisions
- Post-reboot state
- Visible default or clean-state prompt
- Verification commands and outputs
- Hardware alarms or boot errors
- License, entitlement, or customer identifiers handled according to policy
- Exceptions, failures, or quarantine decisions
- Final pass/fail/exception status attached to the asset record
What not to publish
Do not publish raw transcripts that include customer names, public IP addresses, VPN settings, license keys, entitlement IDs, serial numbers that must remain private, passwords, tokens, certificates, or other sensitive identifiers. Keep sensitive evidence in the customer-approved internal system and publish only sanitized examples.
Common mistakes
- Processing a device without owner authorization or the correct asset record.
- Treating a factory reset as certified data destruction.
- Failing to capture confirmation prompts, reboot state, verification output, or exceptions.
- Publishing raw logs that contain customer identifiers, licenses, keys, passwords, or configuration remnants.
CliDeck workflow fit
CliDeck can help turn this procedure into a repeatable workflow. Console Server Go is useful for portable rack-side console access and shared remote support. Net Controller is better for ITAD, refurbishment, and batch processing where multiple devices need barcode tracking, approved scripts, logs, API updates, and evidence-style results.
Net Controller can help operators connect devices, scan assets, run approved workflows, capture console logs, require verification steps, and attach the result to the asset record.
FAQ
Is this a certified data destruction procedure?
No. This article describes a practical, owner-authorized workflow and verification approach. Certification depends on your organization’s process, evidence requirements, customer contract, and any formal certification program that applies.
Does CliDeck provide vendor OS images?
No. CliDeck does not distribute vendor operating system images. Recovery or reimage workflows can use images already present on the device or images provided by the customer where the customer has appropriate rights and licenses.
Should I publish the full console log?
Usually no. Keep complete evidence in the approved internal system and publish only sanitized examples. Console logs can contain serial numbers, license details, customer names, IP addresses, keys, passwords, or configuration remnants.
Can CliDeck help with this workflow?
Yes. Console Server Go helps with portable rack-side console access and shared remote support. Net Controller is better for batch ITAD, refurbishment, recovery, provisioning, barcode/API tracking, and evidence-style results.
Related guides
- A Technician Bench Workflow for Console Capture, Reset, and Exception Handling - Build the bench process around explicit checkpoints: identify the asset, confirm authorization, capture the permitted starting state, select the...
- pfSense and Netgate Reinstall for Resale: Console, config.xml, and Storage Scope - A pfSense configuration reset restores settings but does not remove arbitrary filesystem changes.
- EdgeRouter Reset and TFTP Recovery: A Console-Friendly Resale Workflow - Use a normal factory reset when an owned EdgeRouter boots correctly and only needs a default configuration.
- Aruba Instant AP Factory Reset: Isolate the Device and Verify the Fresh Baseline - For an owned Aruba Instant AOS-8 access point, use the supported factory-reset procedure for the exact model and software.
- Palo Alto ZTP After Factory Reset: Keep Refurbishment on a Controlled Bench - After resetting an owned Palo Alto firewall, inspect its Zero Touch Provisioning state before connecting it to an unrestricted uplink.