How to Configure VLANs on Cisco Catalyst Switches (IOS/IOS XE): Quick Steps + Trunk Checks
How to Configure VLANs on Cisco Catalyst Switches (IOS/IOS XE)
If you’re here, you’re probably seeing one of these real-world problems:
- You plugged a device into a switch port and it can’t reach anything.
- Two devices “should be in the same network” but don’t talk.
- You configured a VLAN, but traffic dies between switches.
- You’re getting native VLAN mismatch warnings.
- You inherited a switch and need a clean, minimal VLAN setup that you can trust.
The good news: most VLAN issues on Catalyst switches boil down to the same simple flow:
- Create the VLAN
- Assign it to access ports
- Make the uplink a trunk (if VLANs must pass between switches)
- Verify with show commands (this step is why people get stuck)
This guide keeps it short, but covers the “gotchas” that actually waste your time.
Quick Answer (Copy/Paste Recipe)
Create VLAN 10, put Gi1/0/1 into it, trunk Gi1/0/48, allow VLAN 10, then verify:
conf t
vlan 10
 name USERS
exit

int gi1/0/1
 description PC-01
 switchport mode access
 switchport access vlan 10
 spanning-tree portfast
exit

int gi1/0/48
 description UPLINK-TO-SW2
 switchport mode trunk
 switchport trunk allowed vlan 10
exit
end
wr
Verify:
show vlan brief
show interfaces trunk
show interfaces gi1/0/1 switchport
show interfaces gi1/0/48 switchport
If you want the “why” and the common mistakes, keep reading.
What VLANs Actually Solve (In One Minute)
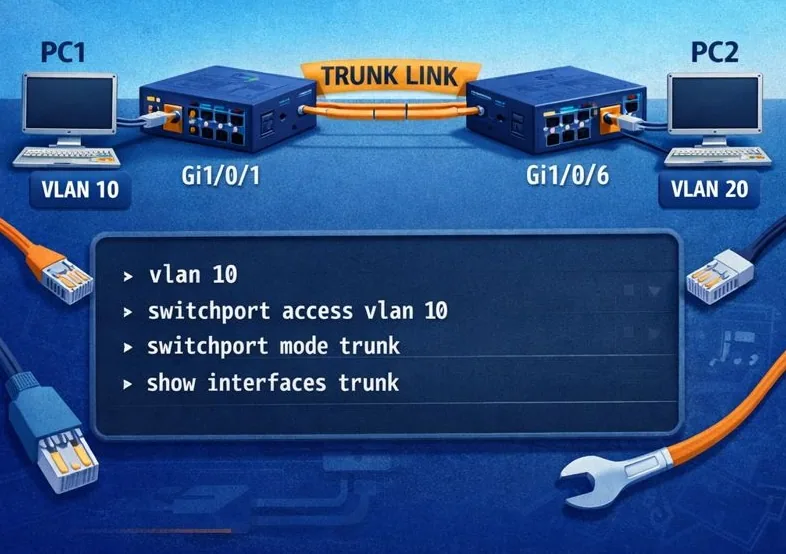
A VLAN lets you split one physical switch into multiple logical networks—so ports in VLAN 10 behave like they’re on a different switch than ports in VLAN 20.
The most common reason people search “how to create VLAN Cisco” is not because VLANs are hard—it's because one missing trunk/allowed VLAN line makes everything look broken.
1) Create a VLAN (and Name It)
enable
configure terminal

vlan 10
 name USERS
exit

vlan 20
 name VOICE
exit

end
write memory
Tip: Naming VLANs is not just “nice to have.” When you come back months later (or someone else does), it saves real time during troubleshooting.
2) Assign VLANs to Access Ports (Endpoints: PCs, Printers, Cameras)
Single port example
configure terminal
interface gi1/0/1
 description PC-01
 switchport mode access
 switchport access vlan 10
 spanning-tree portfast
exit
end
write memory
Why this works well:
switchport mode accessremoves ambiguity (no dynamic trunk surprises).portfasthelps endpoints come online faster.
Multiple ports at once (range)
configure terminal
interface range gi1/0/2 - 10
 switchport mode access
 switchport access vlan 10
 spanning-tree portfast
exit
end
write memory
3) Configure a Trunk (When VLANs Must Travel Between Switches)
If VLAN 10 exists on two switches, you need a trunk on the uplink, otherwise VLAN traffic won’t cross.
Basic trunk + allow list
configure terminal
interface gi1/0/48
 description UPLINK-TO-SW2
 switchport mode trunk
 switchport trunk allowed vlan 10,20
exit
end
write memory
The #1 real-world trunk mistake: You create VLAN 10 on both switches, assign access ports correctly… and still nothing works because VLAN 10 is not allowed on the trunk.
Native VLAN (only if your network standard uses it)
configure terminal
interface gi1/0/48
 switchport trunk native vlan 99
exit
end
write memory
Rule of thumb: If you set native VLAN, set it the same on both ends. Mismatches cause warnings and sometimes weird behavior.
4) Verify (This Is Where Most People Get Stuck)
See VLANs and port membership
show vlan brief
You should see VLAN 10/20 and the ports assigned to them.
See trunk status and what VLANs actually pass
show interfaces trunk
Focus on:
- Is your uplink listed as trunk?
- Are your VLANs in Allowed VLANs?
- Are your VLANs in forwarding state?
Confirm per-port mode and VLAN settings
show interfaces gi1/0/1 switchport
show interfaces gi1/0/48 switchport
This is the fastest way to spot “it’s not really trunk/access” situations.
5) Troubleshooting in Plain English (Fast Fixes)
Problem: VLAN works on one switch but not across two switches
Fix: Check show interfaces trunk. If your VLAN isn’t in the allowed list, add it:
conf t
int gi1/0/48
 switchport trunk allowed vlan add 10
end
wr
Problem: “Native VLAN mismatch” warning
Fix: Set the same native VLAN on both ends (or remove native VLAN config if you don’t use it intentionally).
Problem: Port “mysteriously” behaves wrong (access vs trunk confusion)
Fix: Avoid dynamic modes. Set mode explicitly:
conf t
int gi1/0/48
 switchport mode trunk
end
wr
Problem: Devices in same VLAN still can’t talk
Checklist:
- Are they really in the same VLAN? (
show vlan brief) - Are you testing across switches? Then trunk/allowed VLAN matters.
- Any L3 boundary (SVI routing / ACLs / firewall) stopping traffic?
6) Minimal Cheatsheet (Bookmark This)
Create VLAN 10 + assign access port:
conf t
vlan 10
 name USERS
exit
int gi1/0/1
 switchport mode access
 switchport access vlan 10
 spanning-tree portfast
end
wr
Make uplink a trunk + allow VLAN 10:
conf t
int gi1/0/48
 switchport mode trunk
 switchport trunk allowed vlan 10
end
wr
Verify:
show vlan brief
show interfaces trunk
FAQ
Do I need to create the VLAN on every switch?
Yes. If VLAN 10 exists on two switches, configure VLAN 10 on both, and ensure the trunk allows it.
Is “allowed VLAN list” optional?
Technically you can allow all VLANs, but in real networks explicit allow lists reduce surprises and are easier to audit.
Should I always use a native VLAN?
Only if your network standard requires it. If you do, ensure it matches on both ends of the trunk.
A practical note (for real humans)
Most VLAN problems aren’t “VLAN theory” problems—they’re time-and-context problems: you’re jumping between devices, re-checking port numbers, and losing your place in the session.
If you do this kind of switch work regularly, it helps a lot to have:
- your terminal sessions organized,
- logs you can search later,
- and repeatable snippets you can paste safely.
That’s the workflow we’re building at CliDeck: a modern web workspace for SSH and serial sessions where common network tasks (like VLAN setup and verification) stay clear, repeatable, and easy to audit.