
MikroTik Not Detected by Netinstall: An Etherboot Troubleshooting Checklist
Short answer
When Netinstall does not detect an owned MikroTik device, separate boot-mode entry from network discovery. Verify the designated recovery port, correct Etherboot sequence, a stable isolated Layer 2 path, and host-side packet handling. Try the supported regular and backup booter paths when appropriate. Do not assume a silent discovery window proves failed storage.
Diagnose the stage that failed
| Stage | Evidence to look for | Next check |
|---|---|---|
| Power | Stable startup and LED response | Supply and cabling |
| Boot mode | Etherboot indication or console message | Button sequence and booter |
| Discovery | Device appears in Netinstall | Interface and BOOTP path |
| Transfer | Installation progress begins | Packages and host tool |
| Normal boot | Expected RouterOS starts | Installation result |
Keep the appliance disconnected from production. Recover only devices within your authorized scope, and resolve backup requirements before beginning a process that can lead to erasure.
Check the physical path first
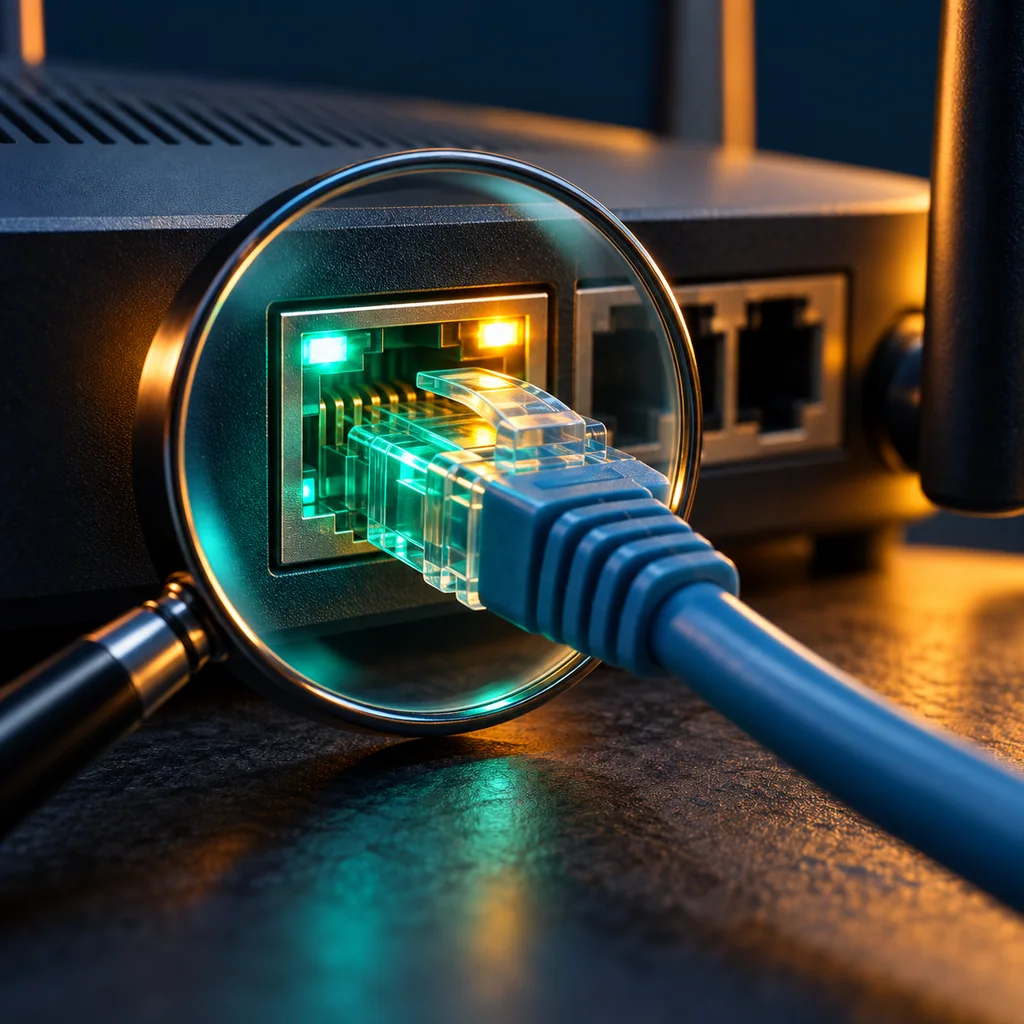
Use the model's Etherboot port, often Ether1 or a port marked BOOT. Confirm link with a known-good cable and compatible workstation interface. Use a dedicated recovery segment with no competing installation targets or DHCP services.
Some USB Ethernet interfaces flap during boot and can disrupt discovery. A simple isolated switch can stabilize the link. If a managed switch is used, ensure its features are not preventing the necessary BOOTP traffic. Record the actual topology so another technician can reproduce the attempt.
Confirm Etherboot rather than an ordinary reset
The regular booter and backup booter have different entry sequences. On supported serial-console models, Control+E can select Etherboot during startup. The button path depends on the model's LED sequence; holding from power-on can choose the backup booter, while a delayed press can use the regular booter.
Do not infer mode solely from the fact that the router rebooted. Capture the console's boot-stage messages or the expected LED transition. Protected RouterBOOT can restrict recovery behavior; follow the owner-approved procedure instead of attempting a bypass.
Inspect the host without broad network changes
Verify the selected network interface and subnet, close conflicting discovery tools, and review host firewall handling for the recovery tool on the dedicated interface. Use the smallest approved change needed for the bench, then restore normal workstation settings after the task.
If the device appears but installation never begins, you have already passed the discovery checkpoint. Recheck the selected architecture packages, tool state, and installation options rather than continuing to troubleshoot the reset button.
Verification note: use observations to limit retries
Record one attempt at a time: topology, interface, booter path, observed indication, discovery result, and transfer result. Change one variable per retry.
A second approved workstation or Ethernet interface can help distinguish a host-side problem from a device-side failure. Do not retry indefinitely while the power or storage condition is uncertain. Route repeated transfer or startup failures to an exception record.
Continue only after a reliable discovery
Once detected, follow the Netinstall reimage checklist. Verify the final version and configuration after normal boot; appearing in the discovery window does not prove that reinstallation succeeded.
CliDeck Workspace can retain console observations and retry notes so the next operator sees the last successful checkpoint instead of repeating the same unsuccessful sequence.
Safety note: This guidance applies only to devices your team owns or is authorized to process. Use the approved, device-specific procedure, customer policy, and your organization’s sanitization and evidence procedures.
Who this is for
This guide is for ITAD teams, refurbishment teams, network engineers, and operations teams who need to perform an owner-authorized reset, recovery, verification, or documented device-processing workflow on network devices that your team owns or is authorized to process.
When to use this
Use this guide when:
- Your team owns or is authorized to process the device.
- You need to reset, zeroize, recover, reimage, verify, or document a network device.
- The result must be attached to an asset, resale, reuse, refurbishment, or recycling workflow.
When not to use this
Do not use this guide when:
- You do not own or have authorization to work on the device.
- The device is outside your approved change, recovery, or processing scope.
- The task may expose customer data, secrets, licenses, or credentials that you are not allowed to view or store.
- You need a certified data destruction procedure and your organization has not provided one.
Practical runbook format
A runbook does not need to be a complex script. For many operations, it can be a plain command list with notes, expected output, stop conditions, verification steps, and rollback instructions.
What to include
- Purpose
- When to use it
- When not to use it
- Target system or device
- Access path
- Read-only checks
- Change steps
- Expected output
- Stop conditions
- Rollback steps
- Verification steps
- Handoff notes
- Final summary format
Workflow
- Confirm ownership, processing scope, device identity, and approved procedure.
- Connect through the console or approved management path and capture the session context.
- Run the reset, zeroize, recovery, reimage, or verification steps required by the article and vendor documentation.
- Reboot or reconnect as needed and verify the expected clean, default, or recovered state.
- Attach logs, verification output, exceptions, and final pass/fail/exception status to the asset record.
Verification checklist
- Device identity matches the asset record.
- Console or session log is attached to the asset.
- The reset, zeroize, recovery, or reimage method is recorded.
- The post-reboot state matches the expected clean or recovered state.
- Verification commands and outputs are captured.
- Exceptions or failures are quarantined instead of marked ready.
Resale and evidence checklist
Before marking the device ready for resale, capture:
- Device model and serial number
- Console transcript or session log
- Reset, zeroize, reimage, or recovery method used
- Any confirmation prompts and operator decisions
- Post-reboot state
- Visible default or clean-state prompt
- Verification commands and outputs
- Hardware alarms or boot errors
- License, entitlement, or customer identifiers handled according to policy
- Exceptions, failures, or quarantine decisions
- Final pass/fail/exception status attached to the asset record
What not to publish
Do not publish raw transcripts that include customer names, public IP addresses, VPN settings, license keys, entitlement IDs, serial numbers that must remain private, passwords, tokens, certificates, or other sensitive identifiers. Keep sensitive evidence in the customer-approved internal system and publish only sanitized examples.
Common mistakes
- Processing a device without owner authorization or the correct asset record.
- Treating a factory reset as certified data destruction.
- Failing to capture confirmation prompts, reboot state, verification output, or exceptions.
- Publishing raw logs that contain customer identifiers, licenses, keys, passwords, or configuration remnants.
CliDeck workflow fit
CliDeck can help turn this procedure into a repeatable workflow. Console Server Go is useful for portable rack-side console access and shared remote support. Net Controller is better for ITAD, refurbishment, and batch processing where multiple devices need barcode tracking, approved scripts, logs, API updates, and evidence-style results.
Net Controller can help operators connect devices, scan assets, run approved workflows, capture console logs, require verification steps, and attach the result to the asset record.
FAQ
Is this a certified data destruction procedure?
No. This article describes a practical, owner-authorized workflow and verification approach. Certification depends on your organization’s process, evidence requirements, customer contract, and any formal certification program that applies.
Does CliDeck provide vendor OS images?
No. CliDeck does not distribute vendor operating system images. Recovery or reimage workflows can use images already present on the device or images provided by the customer where the customer has appropriate rights and licenses.
Should I publish the full console log?
Usually no. Keep complete evidence in the approved internal system and publish only sanitized examples. Console logs can contain serial numbers, license details, customer names, IP addresses, keys, passwords, or configuration remnants.
Can CliDeck help with this workflow?
Yes. Console Server Go helps with portable rack-side console access and shared remote support. Net Controller is better for batch ITAD, refurbishment, recovery, provisioning, barcode/API tracking, and evidence-style results.
Related guides
- MikroTik Backups, Exports, and Files Before Resale: What a Reset Leaves to Review - Treat a MikroTik binary backup, text export, diagnostic file, and active configuration as different artifacts.
- MikroTik supout.rif Before Wipe: Diagnostic Evidence Without a False Clean-State Claim - Create
supout.rifbefore reset only when the owner authorizes diagnostic preservation. - MikroTik Reset Configuration vs Netinstall: Which Path Fits Resale Preparation? - Choose a RouterOS configuration reset when the operating system is healthy and the approved task is to replace configuration.
- MikroTik Netinstall for Refurbishment: A Clean RouterOS Reimage Checklist - Use Netinstall when an owned MikroTik router needs a clean RouterOS installation rather than only a configuration reset.
- Aruba Instant AP Factory Reset: Isolate the Device and Verify the Fresh Baseline - For an owned Aruba Instant AOS-8 access point, use the supported factory-reset procedure for the exact model and software.