
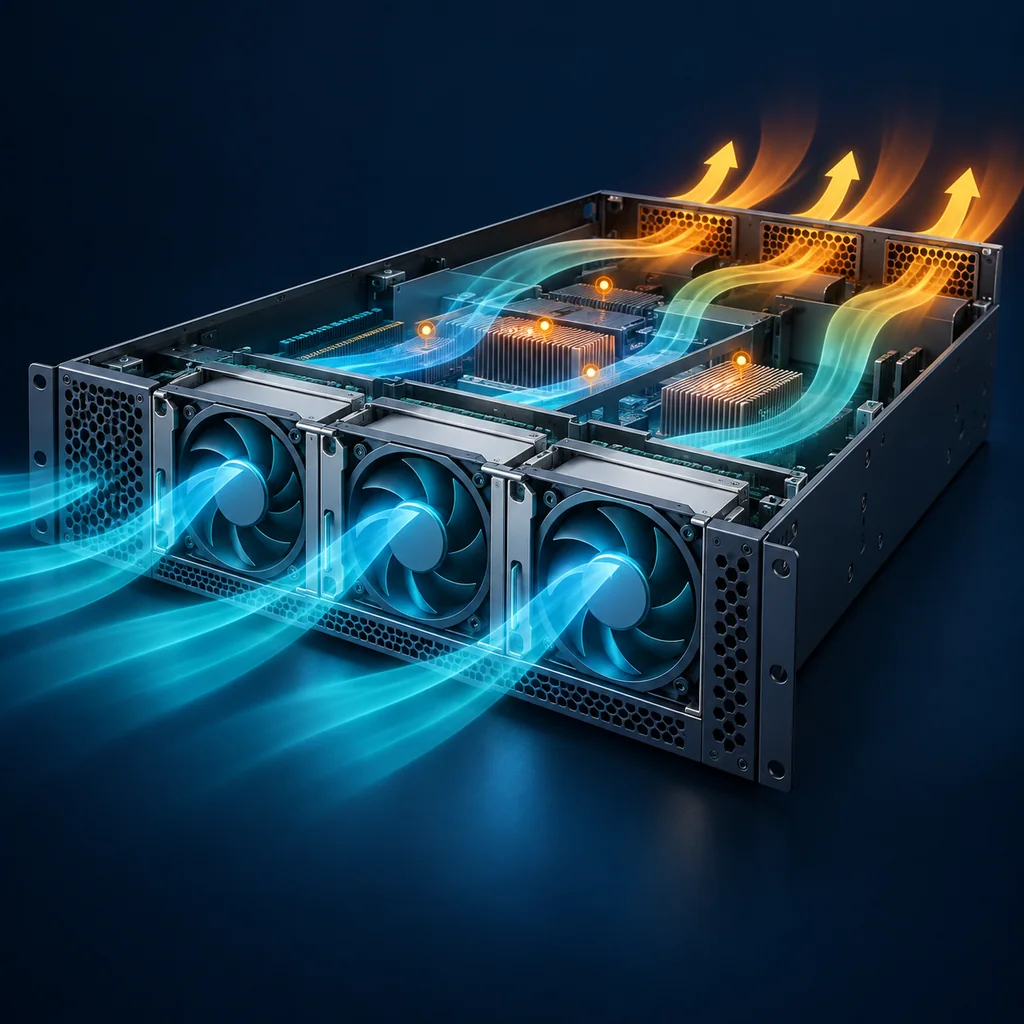
Arista EOS Cooling Checks: Fans, Airflow and Sensors
Short answer
Capture the cooling table and temperature sensors together before an Arista switch maintenance handoff. Review every fan row and each sensor's own threshold. A top-level Ok alone is too narrow to certify the appliance or justify a hardware replacement.
The goal is a read-only baseline that helps remote hands report exactly what the switch says, with enough scope for another engineer to decide the next action.
Scope and command spelling
This workflow follows the EOS 4.36.2F environment command reference. Use it on owned or authorized hardware after identifying the exact switch model and installed EOS release. Older releases and hardware may have different commands, sensors or status behavior. Confirm syntax with EXEC help when the installed release differs; do not assume an alias from an older runbook exists.
The cooling command in this scope includes system:
show version
show system environment cooling
show environment temperature
Run them in an authorized EXEC session and save complete responses with capture times. These commands inspect state; this procedure does not change fans, thresholds or shutdown behavior.
Read the rows before the summary
Cooling output reports ambient temperature, airflow and fan-tray state. Temperature output reports individual sensors with readings and alert/critical thresholds. Record those fields without importing numeric limits from another chassis.
In the documented cooling status definition, Ok allows no more than one failed or absent fan. Inspect individual rows even when the summary is Ok. A temperature summary of Ok describes reported sensors below their alert thresholds; it is a different check.
Treat initialization and failed or unsupported sensors as unresolved. Missing data cannot establish a satisfactory condition. Preserve the difference between an absent fan, a failed fan and unsupported hardware instead of flattening them into a generic “bad fan” label.
Make the capture useful to remote hands
Attach the device identity and physical rack location to the evidence. Compare the reported airflow with the intended rack arrangement and the actual hardware labels through the authorized site process. A command's airflow field does not prove that the physical installation matches the ticket.
Give the next operator a worksheet rather than an unsupported diagnosis:
Asset / exact model / EOS release:
Rack location / capture time:
Cooling summary:
Each fan-tray state:
Reported airflow / physical arrangement checked separately:
Temperature summary:
Each sensor reading and its displayed thresholds:
Missing, unknown or unsupported fields:
Escalation owner:
If trend evidence is needed, repeat the same commands after an agreed interval and retain both captures. Record any intervening workload, airflow or equipment change that is actually known. Avoid declaring an improving trend from a single reading or comparing different sensor names as though they refer to one component.
Exceptions and escalation
A critical status or insufficient cooling requires the site's established response. Save evidence only when doing so is consistent with that response; do not delay an urgent intervention to finish a checklist.
If the command is rejected, record the error and determine the installed release's supported syntax. If the switch is still initializing, mark that condition and obtain a later baseline when appropriate. Keep any gap open rather than assigning an invented normal value.
Do not change fan speed, overheat actions or insufficient-fan actions during this inspection. Do not remove a fan to reproduce an alert. Replacement decisions require exact-model service guidance and the responsible engineer's diagnosis.
Verification note: acceptance criteria for the baseline
A complete baseline identifies the exact model and release, preserves cooling and temperature responses, checks each fan row, compares each sensor with its own displayed thresholds, and distinguishes reported airflow from separately checked installation. Unknown or unsupported values remain visible. These are acceptance criteria for an operator's future capture, not physical tests performed for this article.
Keep the transcript in a CliDeck workspace, linked to the EOS inventory intake. Use the optical DOM guide for a separate transceiver question; chassis cooling and optical readings answer different questions.
Who this is for
This guide is for operations teams, incident responders, network engineers, and system administrators who need to prepare, run, verify, and document operational terminal work on SSH, serial, browser terminal, and infrastructure operations workflows.
When to use this
Use this guide when:
- Several commands or checks must be repeated safely.
- Another engineer, customer, onsite technician, or vendor may need context.
- The work should produce notes, logs, verification, or a clear handoff.
When not to use this
Do not use this guide when:
- You do not own or have authorization to work on the device.
- The device is outside your approved change, recovery, or processing scope.
- The task may expose customer data, secrets, licenses, or credentials that you are not allowed to view or store.
- The work requires vendor-specific approval, legal approval, or a customer-specific procedure that is not covered here.
Practical runbook format
A runbook does not need to be a complex script. For many operations, it can be a plain command list with notes, expected output, stop conditions, verification steps, and rollback instructions.
What to include
- Purpose
- When to use it
- When not to use it
- Target system or device
- Access path
- Read-only checks
- Change steps
- Expected output
- Stop conditions
- Rollback steps
- Verification steps
- Handoff notes
- Final summary format
Workflow
- Define the purpose, target device, access path, and approved scope.
- Run read-only checks first and record the expected healthy state.
- Execute commands from the runbook or handoff plan while watching for stop conditions.
- Verify the final state with independent checks.
- Summarize commands run, outputs reviewed, exceptions, and handoff notes.
Verification checklist
- The target device or system is correct.
- Read-only checks were captured before the work.
- Stop conditions and rollback notes were available before changes.
- Final verification checks match the expected result.
- Notes, logs, and handoff summary are stored where the team can find them.
Common mistakes
- Starting commands before confirming the target device and scope.
- Skipping read-only baseline checks.
- Copying commands without expected output, stop conditions, or rollback notes.
- Closing the work without a final verification summary.
CliDeck workflow fit
CliDeck Workspace is designed for this kind of operational workflow. Teams can keep terminals, notes, runbooks, logs, and shared sessions in one browser workspace instead of spreading work across terminal windows, chat messages, screenshots, and separate documents.
CliDeck runbooks can be plain command lists, one command per line. Operators can send commands with one click or use auto-run behavior that waits for the prompt before sending the next line where configured.
FAQ
Does a runbook need to be code?
No. A useful runbook can be a plain list of commands, checks, notes, expected output, stop conditions, and verification steps.
Why use a browser workspace for terminal work?
A browser workspace can keep terminals, notes, runbooks, logs, and shared sessions together, which helps during incidents, handoffs, maintenance windows, and remote support.
Can shared terminal sessions be safer than screen sharing?
Yes, when implemented with clear view/type permissions. The helper can see the relevant terminal context without taking over the operator’s entire desktop.
Can CliDeck help with this workflow?
Yes. CliDeck Workspace helps organize terminals, runbooks, notes, logs, and shared sessions. Console Server Go is useful when the workflow starts at a rack-side console port.
Related guides
- Junos Storage Preflight: Filesystems Before Maintenance - Capture Junos filesystem usage before maintenance, map the relevant mount, preserve units, and leave cleanup decisions to a separate approved plan.
- Catalyst 9300 PoE: Budget and Port State Checks - Read Catalyst 9300 PoE budget and port state separately, preserve labeled power values, and avoid mistaking power-on for endpoint health.
- FortiGate 7000E HA Status: Capture Members and Sync Before Maintenance - Collect FortiGate 7000E HA member identities, roles and configuration synchronization as a reviewable baseline before approved maintenance.
- Arista EOS Optical Readings: Capture DOM Values Without Certifying the Link - Capture EOS optical DOM readings, units, update context and supported thresholds without overstating link or forwarding health.
- Junos Uptime Before Recovery: Separate Boot, Protocol and Configuration Times - Collect boot, protocol-start and configuration times in Junos while preserving Routing Engine, node and clock context before recovery.