
Catalyst Trunk Checks: Read the Three VLAN Lists
Short answer
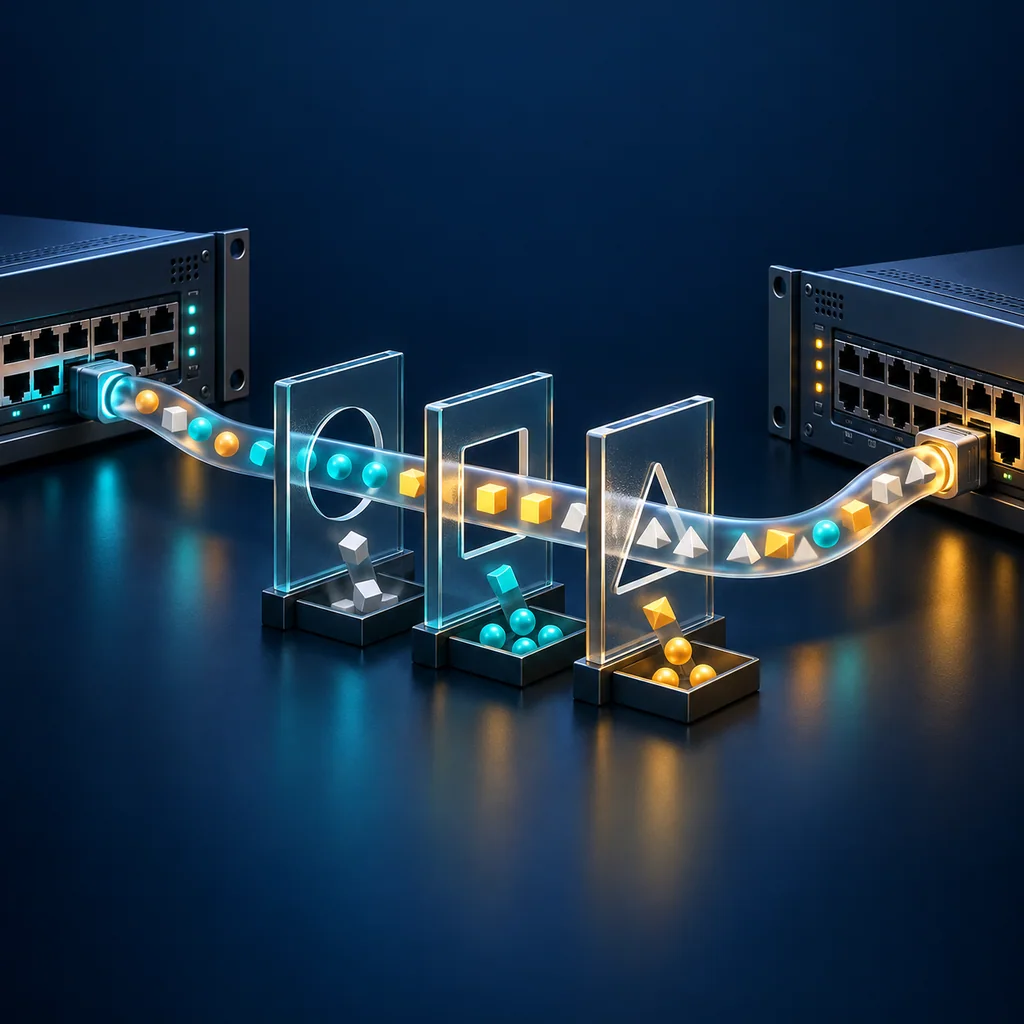
Read all three VLAN lists in show interfaces trunk, not just the allowed list. Separate permission to carry a VLAN, local VLAN activity, and the reported forwarding/not-pruned set. Preserve the native VLAN separately. A VLAN appearing in the last list is local evidence, not proof that a host can communicate across the entire path.
Scope and prerequisites
This read-only workflow targets Catalyst 9300 IOS XE 17.12.x. Cisco's current Catalyst verification examples and release command references support the displayed distinctions. Confirm the installed build, interface identity and network design before interpreting a capture.
The workflow does not add a VLAN, change a native VLAN or alter spanning tree. Have the approved VLAN ID, both trunk endpoints and the expected topology available. If an EtherChannel carries the trunk, identify the logical interface and its members before asking remote hands to touch a cable.
1. Preserve the entire trunk view
In an authorized privileged EXEC session, run:
show interfaces trunk
Capture the header and every section for the relevant interface. Keep the capture time, device identity and actual software release in the private record. An excerpt containing only one list can omit the reason a VLAN is not eligible for forwarding.
Start with the interface's reported trunk status. If the intended interface is absent, do not assume it is forwarding the VLAN. Confirm its operational mode and the intended logical interface through the approved device-specific inspection procedure.
2. Follow the VLAN through each list
For the target VLAN, record whether it appears in each of these separately:
- Allowed on the trunk.
- Allowed and locally active in the management domain.
- In spanning-tree forwarding state and not pruned.
The first list describes an allowed set. The next narrows the view to active VLANs, and the last adds the reported forwarding and pruning conditions. Keep the exact printed headings with your notes rather than reducing everything to one unchecked statement that the VLAN is enabled.
If the VLAN appears only in an earlier list, the missing later eligibility condition is the next investigation. It is not an invitation to overwrite the allowed list. Preserve the baseline and identify whether local VLAN state, spanning tree or another applicable mechanism requires separate inspection.
Do not treat every difference as a fault. The approved design can intentionally exclude forwarding on a redundant path. Resolve whether the observed condition is expected before proposing a change.
3. Check both ends and native treatment
Capture the same view on the identified peer under the approved access procedure. Compare the target VLAN and native-VLAN values against the design. Record mismatches as unresolved findings rather than silently changing one side to match the other.
Native-VLAN identity and tagging behavior are separate from the list of allowed tagged VLANs. Use the installed release's switchport inspection when that detail matters. Do not conclude that matching allowed sets alone establish compatible handling of untagged frames.
Private VLANs, translation and other specialized designs need their own checks. This article does not turn a standard trunk summary into complete verification of those features.
4. Close with service evidence
Attach the two captures, interface mapping and the per-list result to the handoff. Include the approved service check that remains to be performed. A local forwarding indication does not establish remote host state, addressing, policy or application response.
Use STP root and port-role checks for separate spanning-tree context and EtherChannel summary interpretation for bundle evidence. Keep corrective configuration outside this baseline workflow.
Verification note: acceptance criteria
On the actual Catalyst 9300 release and topology, verify that both endpoint captures are complete, the target VLAN is checked in every list, native treatment is reconciled and intentional topology exclusions are documented. Missing interfaces or unexplained list differences remain exceptions. These are operator acceptance criteria; no physical trunk test, real transcript or verified end-to-end traffic result is claimed.
Who this is for
This guide is for operations teams, incident responders, network engineers, and system administrators who need to prepare, run, verify, and document operational terminal work on approved network devices inside a planned change or lab scope.
When to use this
Use this guide when:
- Several commands or checks must be repeated safely.
- Another engineer, customer, onsite technician, or vendor may need context.
- The work should produce notes, logs, verification, or a clear handoff.
When not to use this
Do not use this guide when:
- You do not own or have authorization to work on the device.
- The device is outside your approved change, recovery, or processing scope.
- The task may expose customer data, secrets, licenses, or credentials that you are not allowed to view or store.
- The work requires vendor-specific approval, legal approval, or a customer-specific procedure that is not covered here.
Practical runbook format
A runbook does not need to be a complex script. For many operations, it can be a plain command list with notes, expected output, stop conditions, verification steps, and rollback instructions.
What to include
- Purpose
- When to use it
- When not to use it
- Target system or device
- Access path
- Read-only checks
- Change steps
- Expected output
- Stop conditions
- Rollback steps
- Verification steps
- Handoff notes
- Final summary format
Workflow
- Define the purpose, target device, access path, and approved scope.
- Run read-only checks first and record the expected healthy state.
- Execute commands from the runbook or handoff plan while watching for stop conditions.
- Verify the final state with independent checks.
- Summarize commands run, outputs reviewed, exceptions, and handoff notes.
Verification checklist
- The target device or system is correct.
- Read-only checks were captured before the work.
- Stop conditions and rollback notes were available before changes.
- Final verification checks match the expected result.
- Notes, logs, and handoff summary are stored where the team can find them.
Common mistakes
- Starting commands before confirming the target device and scope.
- Skipping read-only baseline checks.
- Copying commands without expected output, stop conditions, or rollback notes.
- Closing the work without a final verification summary.
CliDeck workflow fit
CliDeck Workspace is designed for this kind of operational workflow. Teams can keep terminals, notes, runbooks, logs, and shared sessions in one browser workspace instead of spreading work across terminal windows, chat messages, screenshots, and separate documents.
CliDeck runbooks can be plain command lists, one command per line. Operators can send commands with one click or use auto-run behavior that waits for the prompt before sending the next line where configured.
FAQ
Does a runbook need to be code?
No. A useful runbook can be a plain list of commands, checks, notes, expected output, stop conditions, and verification steps.
Why use a browser workspace for terminal work?
A browser workspace can keep terminals, notes, runbooks, logs, and shared sessions together, which helps during incidents, handoffs, maintenance windows, and remote support.
Can shared terminal sessions be safer than screen sharing?
Yes, when implemented with clear view/type permissions. The helper can see the relevant terminal context without taking over the operator’s entire desktop.
Can CliDeck help with this workflow?
Yes. CliDeck Workspace helps organize terminals, runbooks, notes, logs, and shared sessions. Console Server Go is useful when the workflow starts at a rack-side console port.
Related guides
- EOS VLAN Members: Active Ports versus Configured Ports - Compare EOS active and configured VLAN membership before declaring a port missing; keep logical ports and transport verification separate.
- Arista EOS Logging Checks: Preserve Configuration and Coverage - Capture EOS logging settings, severity and retention limits before maintenance; distinguish available local evidence from confirmed collector receipt.
- Catalyst 9300 Stack Members: Roles and Readiness Checks - Capture Catalyst 9300 StackWise members, roles and readiness, then reconcile neighbors and port evidence with the approved physical inventory.
- Catalyst 9300 PoE: Budget and Port State Checks - Read Catalyst 9300 PoE budget and port state separately, preserve labeled power values, and avoid mistaking power-on for endpoint health.
- Junos Uptime Before Recovery: Separate Boot, Protocol and Configuration Times - Collect boot, protocol-start and configuration times in Junos while preserving Routing Engine, node and clock context before recovery.