
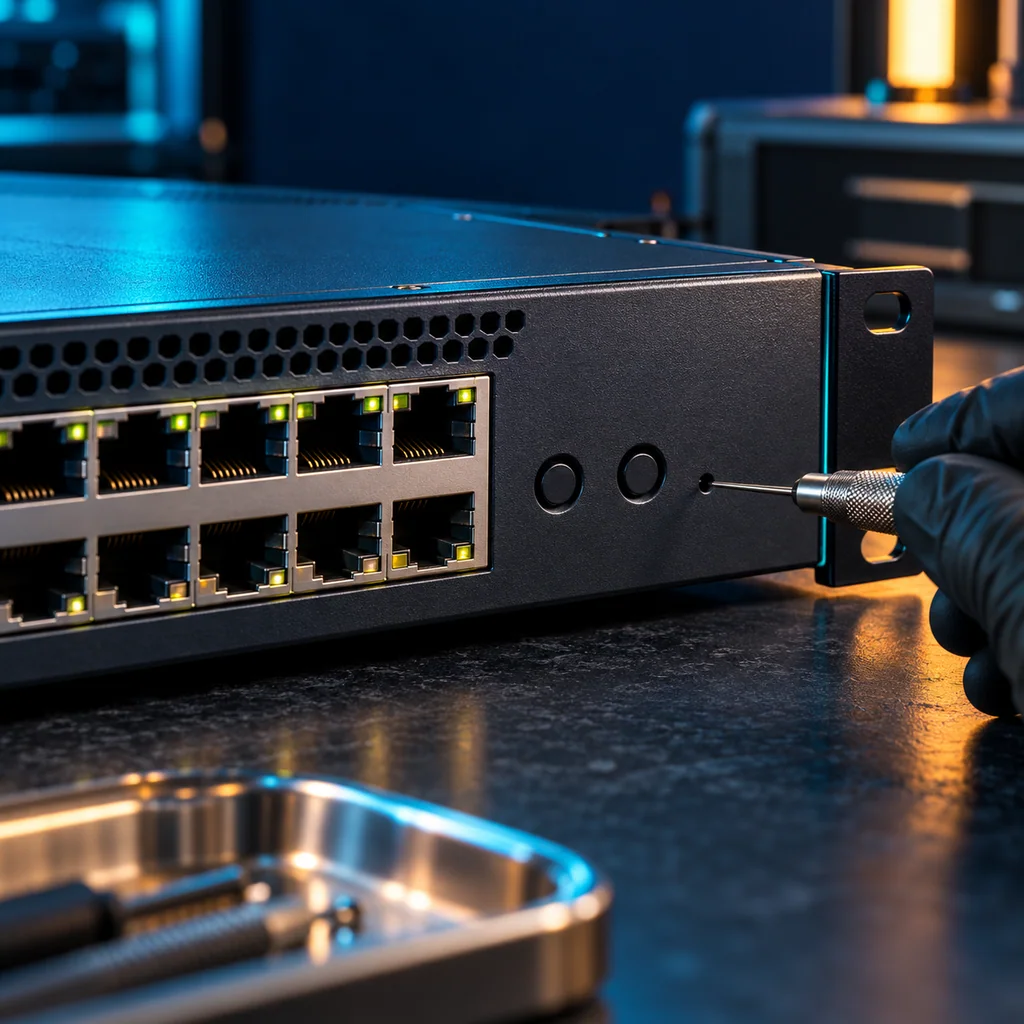
NETGEAR Smart Switch Factory Reset: Button Selection and Verification Before Resale
Short answer
Identify the exact NETGEAR Smart Switch model and hardware revision before resetting it. Some switches have separate Reset and Factory Default buttons; others use one timed multifunction button. Use the matching factory-default procedure, then verify management access, VLAN and port settings, and registration disposition. A restart that retains saved settings is not a factory reset.
Scope and preparation
This guide covers authorized processing of NETGEAR Smart Switches. Fully Managed, Plus, Insight-managed, and different hardware revisions can expose different controls. Do not reuse a console command or button timing from another family just because the cases look alike.
Record the model suffix and revision, firmware if known, starting management address, and button labels. Disconnect production uplinks and attached PoE devices before resetting: the operation can disrupt links and change port behavior.
If a customer configuration must be retained, export it through authorized access before reset and follow the agreed private-storage policy. If access is unavailable and preservation is required, stop rather than destroying the only copy.
Choose the correct control
| Hardware control | Common distinction to check |
|---|---|
| Separate Reset and Factory Default | Reset can reboot while retaining settings |
| Single multifunction button | Hold duration selects the operation |
| Web management | Factory-default menu and confirmation vary |
For supported single-button models, a short press can restart the unit, an intermediate hold can reset settings while preserving registration, and a longer hold can reset registration as well. Other Smart Switch procedures specify a shorter Factory Default hold. These are model-dependent paths, not conflicting instructions to average together.
Consult the exact model's supported procedure before pressing. Note which registration outcome the processing agreement requires. A local reset and an account or cloud-management transfer should not be treated as the same event.
Run one deliberate reset
Use stable power and observe the status LED sequence. Record the selected control, duration category, and response. If the switch enters firmware recovery unexpectedly, stop and identify that mode instead of repeatedly holding the button longer.
Through the web UI, use the factory-default action shown by the device, read its confirmation text, and allow the restart to complete. Do not confuse an ordinary reboot menu with configuration erasure.
Verification note: loss of the old address can be expected
After factory defaults, the management addressing method may change. Inspect the model's default addressing behavior and the isolated bench's DHCP leases before declaring the switch unreachable.
Verify these items after authorized login:
- Former VLANs, port profiles, static management settings, and customer names are absent.
- The administrator state matches the selected factory-default procedure.
- Registration handling matches the intended reset path.
- A subsequent normal restart does not restore the old saved configuration.
- Required interfaces establish links during a separate grading test.
Use temporary bench credentials only under the handoff policy, and document their final disposition. Default login success alone does not prove the unit is ready to ship.
Record exceptions and final state
Hold the asset if saved settings return, firmware recovery persists, or ownership remains unclear. Keep those outcomes visible instead of marking the switch clean because the reset button was pressed.
CliDeck Workspace can organize the checklist and console evidence on models that support a console interface. Complete the data-sanitization evidence record with the exact method and observations rather than a generic reset checkbox.
Safety note: This guidance applies only to devices your team owns or is authorized to process. Use the approved, device-specific procedure, customer policy, and your organization’s sanitization and evidence procedures.
Who this is for
This guide is for ITAD teams, refurbishment teams, network engineers, and operations teams who need to perform an owner-authorized reset, recovery, verification, or documented device-processing workflow on network devices that your team owns or is authorized to process.
When to use this
Use this guide when:
- Your team owns or is authorized to process the device.
- You need to reset, zeroize, recover, reimage, verify, or document a network device.
- The result must be attached to an asset, resale, reuse, refurbishment, or recycling workflow.
When not to use this
Do not use this guide when:
- You do not own or have authorization to work on the device.
- The device is outside your approved change, recovery, or processing scope.
- The task may expose customer data, secrets, licenses, or credentials that you are not allowed to view or store.
- You need a certified data destruction procedure and your organization has not provided one.
Workflow
- Confirm ownership, processing scope, device identity, and approved procedure.
- Connect through the console or approved management path and capture the session context.
- Run the reset, zeroize, recovery, reimage, or verification steps required by the article and vendor documentation.
- Reboot or reconnect as needed and verify the expected clean, default, or recovered state.
- Attach logs, verification output, exceptions, and final pass/fail/exception status to the asset record.
Verification checklist
- Device identity matches the asset record.
- Console or session log is attached to the asset.
- The reset, zeroize, recovery, or reimage method is recorded.
- The post-reboot state matches the expected clean or recovered state.
- Verification commands and outputs are captured.
- Exceptions or failures are quarantined instead of marked ready.
Resale and evidence checklist
Before marking the device ready for resale, capture:
- Device model and serial number
- Console transcript or session log
- Reset, zeroize, reimage, or recovery method used
- Any confirmation prompts and operator decisions
- Post-reboot state
- Visible default or clean-state prompt
- Verification commands and outputs
- Hardware alarms or boot errors
- License, entitlement, or customer identifiers handled according to policy
- Exceptions, failures, or quarantine decisions
- Final pass/fail/exception status attached to the asset record
What not to publish
Do not publish raw transcripts that include customer names, public IP addresses, VPN settings, license keys, entitlement IDs, serial numbers that must remain private, passwords, tokens, certificates, or other sensitive identifiers. Keep sensitive evidence in the customer-approved internal system and publish only sanitized examples.
Common mistakes
- Processing a device without owner authorization or the correct asset record.
- Treating a factory reset as certified data destruction.
- Failing to capture confirmation prompts, reboot state, verification output, or exceptions.
- Publishing raw logs that contain customer identifiers, licenses, keys, passwords, or configuration remnants.
CliDeck workflow fit
CliDeck can help turn this procedure into a repeatable workflow. Console Server Go is useful for portable rack-side console access and shared remote support. Net Controller is better for ITAD, refurbishment, and batch processing where multiple devices need barcode tracking, approved scripts, logs, API updates, and evidence-style results.
Net Controller can help operators connect devices, scan assets, run approved workflows, capture console logs, require verification steps, and attach the result to the asset record.
FAQ
Is this a certified data destruction procedure?
No. This article describes a practical, owner-authorized workflow and verification approach. Certification depends on your organization’s process, evidence requirements, customer contract, and any formal certification program that applies.
Does CliDeck provide vendor OS images?
No. CliDeck does not distribute vendor operating system images. Recovery or reimage workflows can use images already present on the device or images provided by the customer where the customer has appropriate rights and licenses.
Should I publish the full console log?
Usually no. Keep complete evidence in the approved internal system and publish only sanitized examples. Console logs can contain serial numbers, license details, customer names, IP addresses, keys, passwords, or configuration remnants.
Can CliDeck help with this workflow?
Yes. Console Server Go helps with portable rack-side console access and shared remote support. Net Controller is better for batch ITAD, refurbishment, recovery, provisioning, barcode/API tracking, and evidence-style results.
Related guides
- Aruba Instant AP Factory Reset: Isolate the Device and Verify the Fresh Baseline - For an owned Aruba Instant AOS-8 access point, use the supported factory-reset procedure for the exact model and software.
- Palo Alto ZTP After Factory Reset: Keep Refurbishment on a Controlled Bench - After resetting an owned Palo Alto firewall, inspect its Zero Touch Provisioning state before connecting it to an unrestricted uplink.
- Cisco IOS XE Smart Licensing at Decommission: A Separate Checklist from Factory Reset - Before decommissioning an owned IOS XE device, identify its licensing model and coordinate license handling with the authorized Smart Account administrator.
- FortiGate USB Auto-Install Before Resale: Prevent Old Configuration from Returning - Remove unreviewed USB media before resetting an owned FortiGate and inspect USB auto-install settings on supported models.
- MikroTik Not Detected by Netinstall: An Etherboot Troubleshooting Checklist - When Netinstall does not detect an owned MikroTik device, separate boot-mode entry from network discovery.